Departments Supported: Closing
Super Powers Needed? - YES
Developer Support Needed? -YES
Context and Common Situations
Moving the loan back requires multiple steps, additional leadership/department visibility and developer support:
Loans are typically only moved backwards when:
- Wire to fund the loan is being returned to us
- If the business need to editing the loan to match the signed docs: (Documents signed are correct but LMS is incorrect/needs fixed)
- Wire was never sent and will not be sent until later in day or later business day (Loan was pushed to Servicing early)
- Wire date and anticipated time need to be confirmed by Closing team with accounting and Treasury team added for visibility
NO CHANGE NEEDED for Loan Status When:
- Wire was never sent but will be funded on the day of the request (i.e within a few minutes after the loan moves to servicing)
- Wire date and anticipated time need to be confirmed by Closing team with accounting and Treasury team added for visibility
- To re-generate correct docs but not changing the loan: (LMS is correct, but the documents signed are incorrect):
- Most users can re-generate closing documents while the loan is in servicing
Important Considerations & Best Practices
Accounting and Treasury added and included on all requests to:
- Confirm what loan transactions will be voided from the loan history
Servicing/Closing Management: (for visibility and additional input)
- The managers of the Originator's servicing and closing department should be included for visibility.
- Casa Lending requests should additionally include: Hunter Weyerhauser & Alex Berry
Product Support:
- Removes Loan Date Fields from the Closing Tab
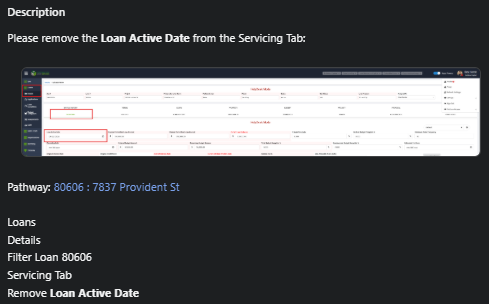
- Sends Task to Developers to remove Loan Active Date from Servicing Tab
- Moves the Loan Status back on the Status History Tab
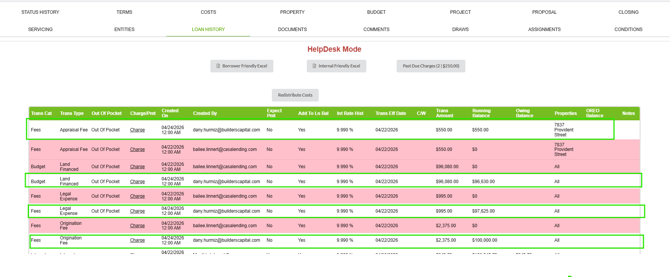
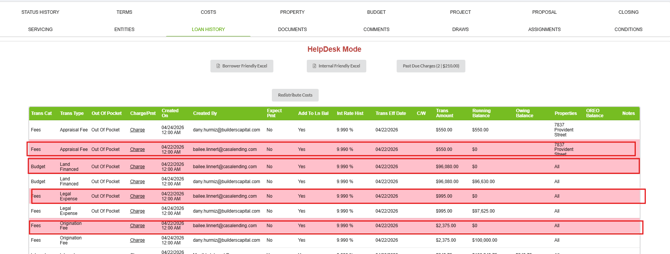
- Remove the Charges from the Loan History
- Adds Charges BACK to the Loan History manually after the loan moves back to Servicing.
Instructions:
I: Product Support Removes Dates from Closing Tab
From LMS Menu Select
-
Loans
-
Details
-
Open Loan Details
-
Select Closing Tab
-
Enable Super Powers
-
Click edit:
-
Remove:
- Recording Date
- Release to Record Date
- Wire Date
- Save and Close
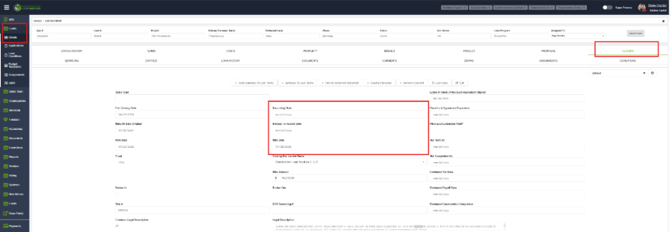
II: Submit Task to Developers to Remove the Loan Active Date from the Servicing Tab:
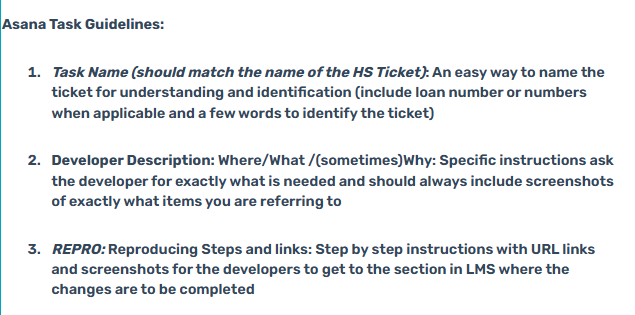
Visual Dev Task Example:
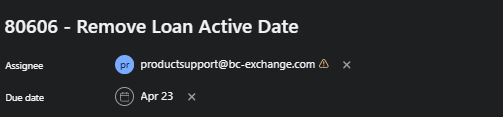
III: Update the Loan Status on the Loan Status History Table:
From LMS Menu Select
-
Loans
-
Details
-
Open Loan Details
-
Select Loan Status History
-
Enable Super Powers
-
Click Edit and modify:
- Loan Phase: Production
- Loan Status: Closing
- Loan SubStatus: Closer Generating Docs
- Save and Close
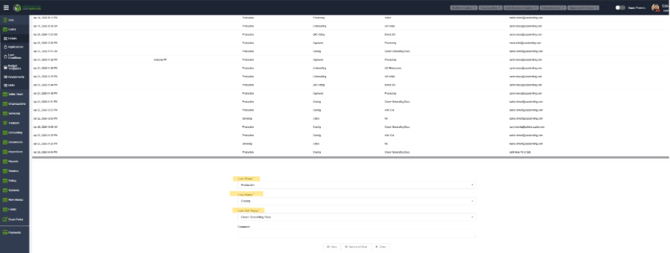
Once the update is made the loan will look like this and there will be a record showing the update made to the Loan Status History Table: 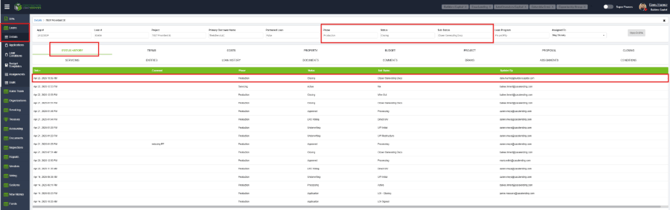
IV: Remove Charges from Loan History
From LMS Menu Select
-
Loans
-
Details
-
Open Loan Details
-
Navigate to the Loan History
-
Identify any charges that have already been posted.
-
Enable Super Powers
-
Void all charges that are no longer applicable
Full QRG/Instructions: Use Steps for FULL VOID: Void and Credit Loan Fees and Charges
V: Add the previously voided Charged BACK to Loan History
Once the loan is moved back into Servicing - PS will manually add back the charges we voided.
-
From LMS Menu
-
Select Accounting
-
Select Loan Transactions
-
Enable Super Powers
-
Click Add
Full QRG/Instructions: Add Loan Transactions and Charges