
Primary Department Supported: Product Support /Servicing
Super Powers Needed? - NO
Developer Support Needed? - NO
Context Common Situations
Requesters often encounter missing or incomplete address options when attempting to update or add address information on a loan. Typical issues include: A state, county, city, or zipcode or any combination not appearing in LMS dropdown menus.
Important Considerations & Best Practices:
- Verify Accuracy of Requested Information
- Before making changes, validate the location details using a reliable source such as: https://www.unitedstateszipcodes.org
- Check that the requested State, County, City, and Zipcode combination is geographically valid.
- When adding any new information to the tables, ensure you’re also copying/adding the MSA, CBSA, and MSA numbers.
Instructions
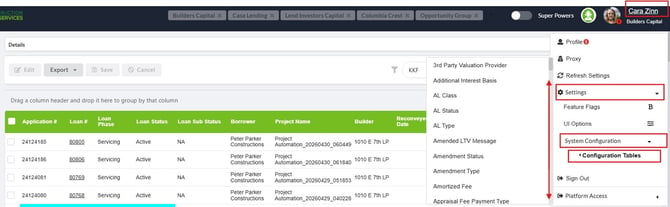
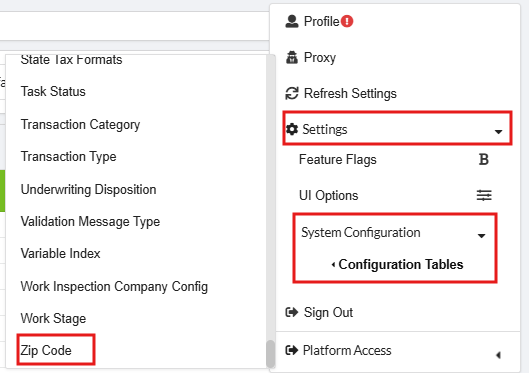
I. Navigate to Configuration Tables- Click your name in the top right corner of LMS.
- Select Settings from the dropdown.
- Choose System Configuration.
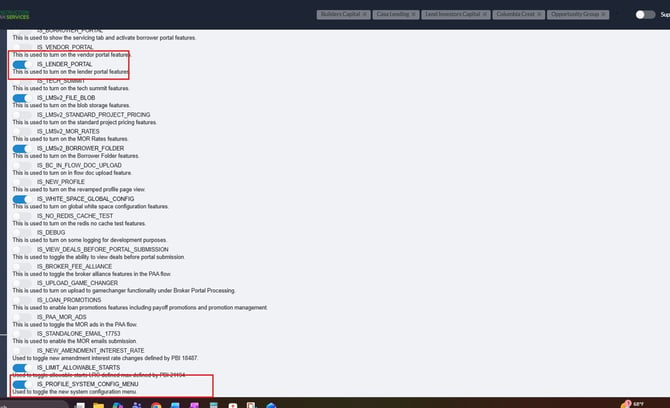
If you do not see this option:
- Go to Feature Flag
- Turn on:
- Is Lender Portal
- Is Profile System Config Menu
- Refresh and return to Configuration Tables

Work through the tables in this order, ensuring all relationships exist and are linked:
1.State Table
Confirm the State is Listed in the Table - (They SHOULD Be) (If a state is missing reach out to Alex Dowdle)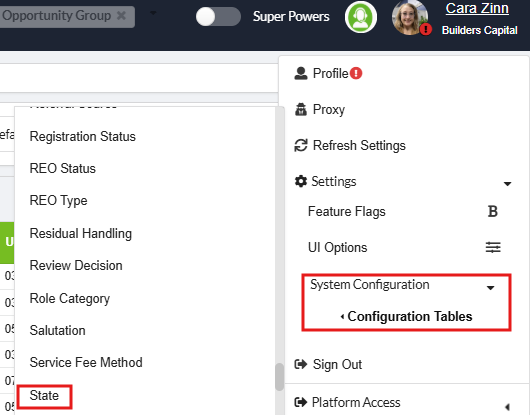

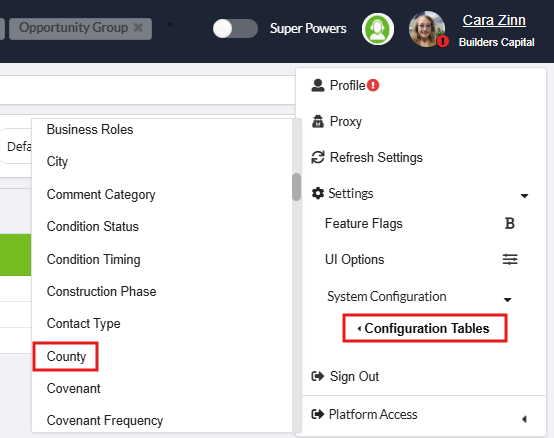
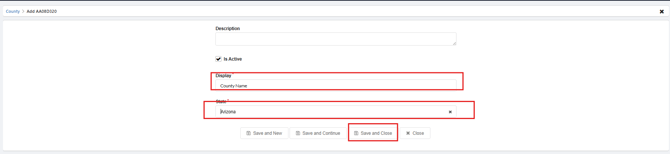
2.County Table
Confirm the County is correctly listed under the appropriate State.
If missing, click Add; fill in the required fields
TIP: Filter By Display- "County Name"

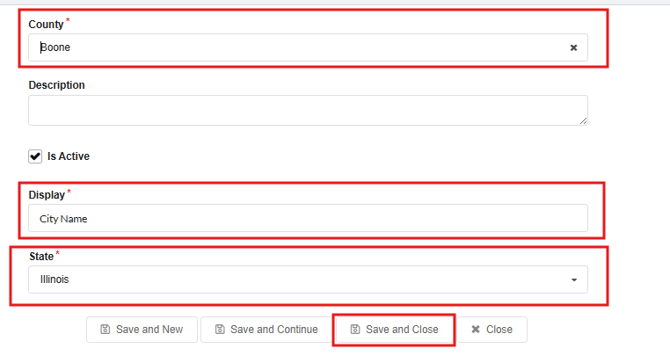
3.City Table
Confirm the City is attached to the correct County and State.
If missing, click Add: Enter the City Name First, Then Select the State, Then select the county from the drop down
TIP: Filter by Display -"City Name" and State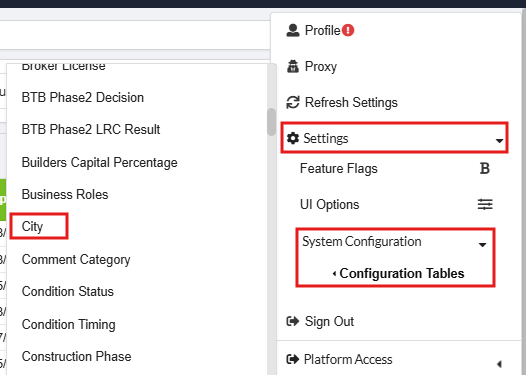

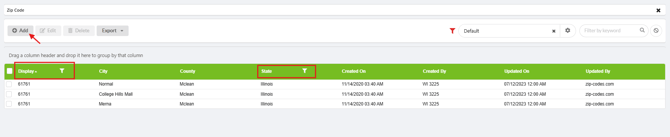
4.Zipcode Table
Confirm the Zipcode exists and is connected to the correct City, County, and State.
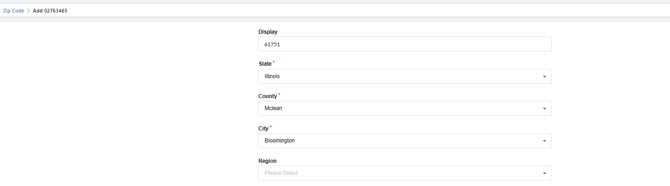
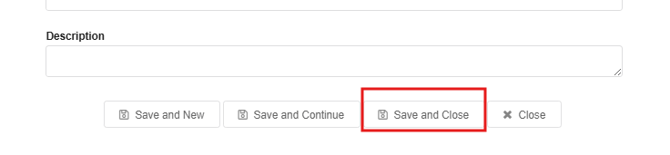
If missing, click Add ; fill in the Display (Zipcode), City, County, State
TIP: Filter by Display - "Zipcode" and State
Validation and Troubleshooting
- Validate by refreshing each table after adding and your new additions should be available.
- If this is part of request to update an address in LMS – you can validate successful entries by going back to the Loan and updating the address (city/state/zip) information under the Property Tab
- If a city, state, zip, or county are available in the dropdowns but not available in LMS, the Devs will need to manually update this. (example Asana ticket: